Safety Jacket - Wearable Alarm System
Outcome
The jacket performed as intended — once worn, the proximity sensor accurately detected objects and people within 4 feet. The sensor response was highly reliable, and during demonstrations the combination of lights and loud audio alert visibly caught bystanders off guard, validating the design's effectiveness as an attention-grabbing safety device.
Overview
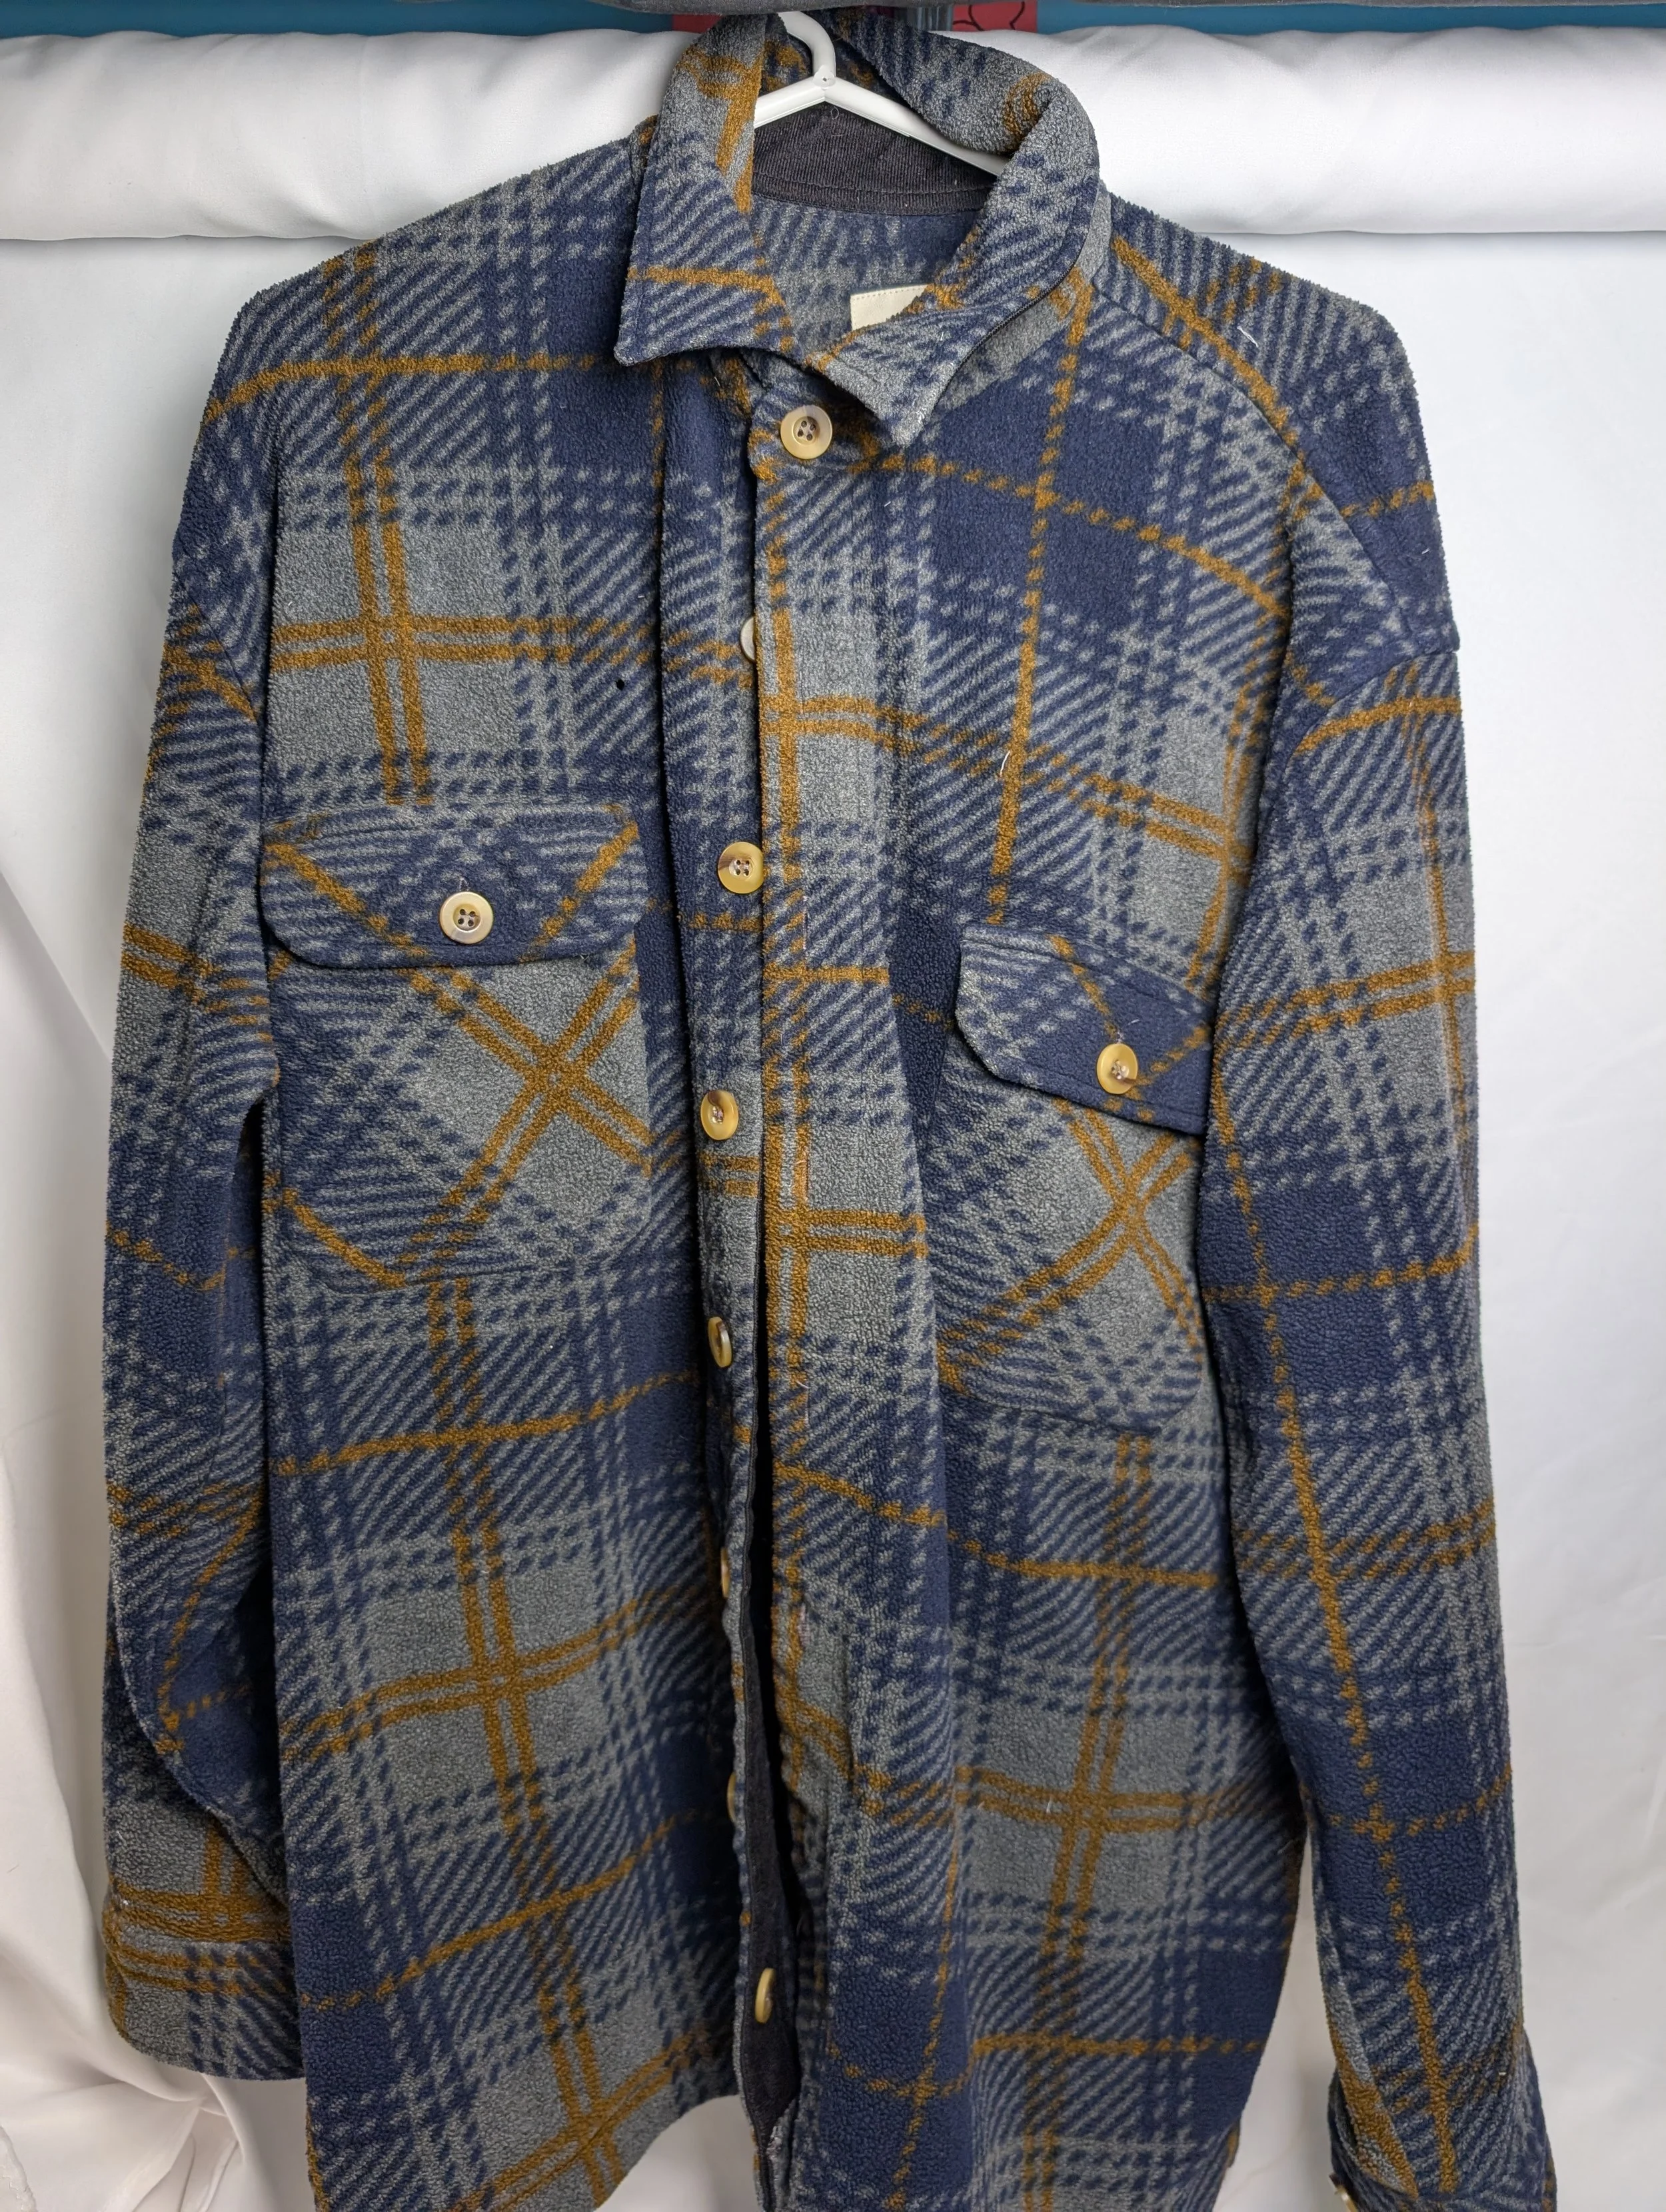
Walking home alone at night can feel unsafe, especially when visibility behind you is limited. Designed and built a wearable jacket with a built-in proximity alert system that detects when a person or object enters the wearer's personal space from behind, triggering an LED light and alarm to increase situational awareness.
The Problem
Walking home alone at night can cause anxiety and safety concerns. This jacket gives users a way to monitor their surroundings behind them, helping them feel safer and more in control in vulnerable moments.
The Solution
An ultrasonic distance sensor detects when another person/object is within 4 ft, once triggered the sensor sets off a loud scream and flashing red bright lights, alerting the wearer someone has entered their personal space.
Process
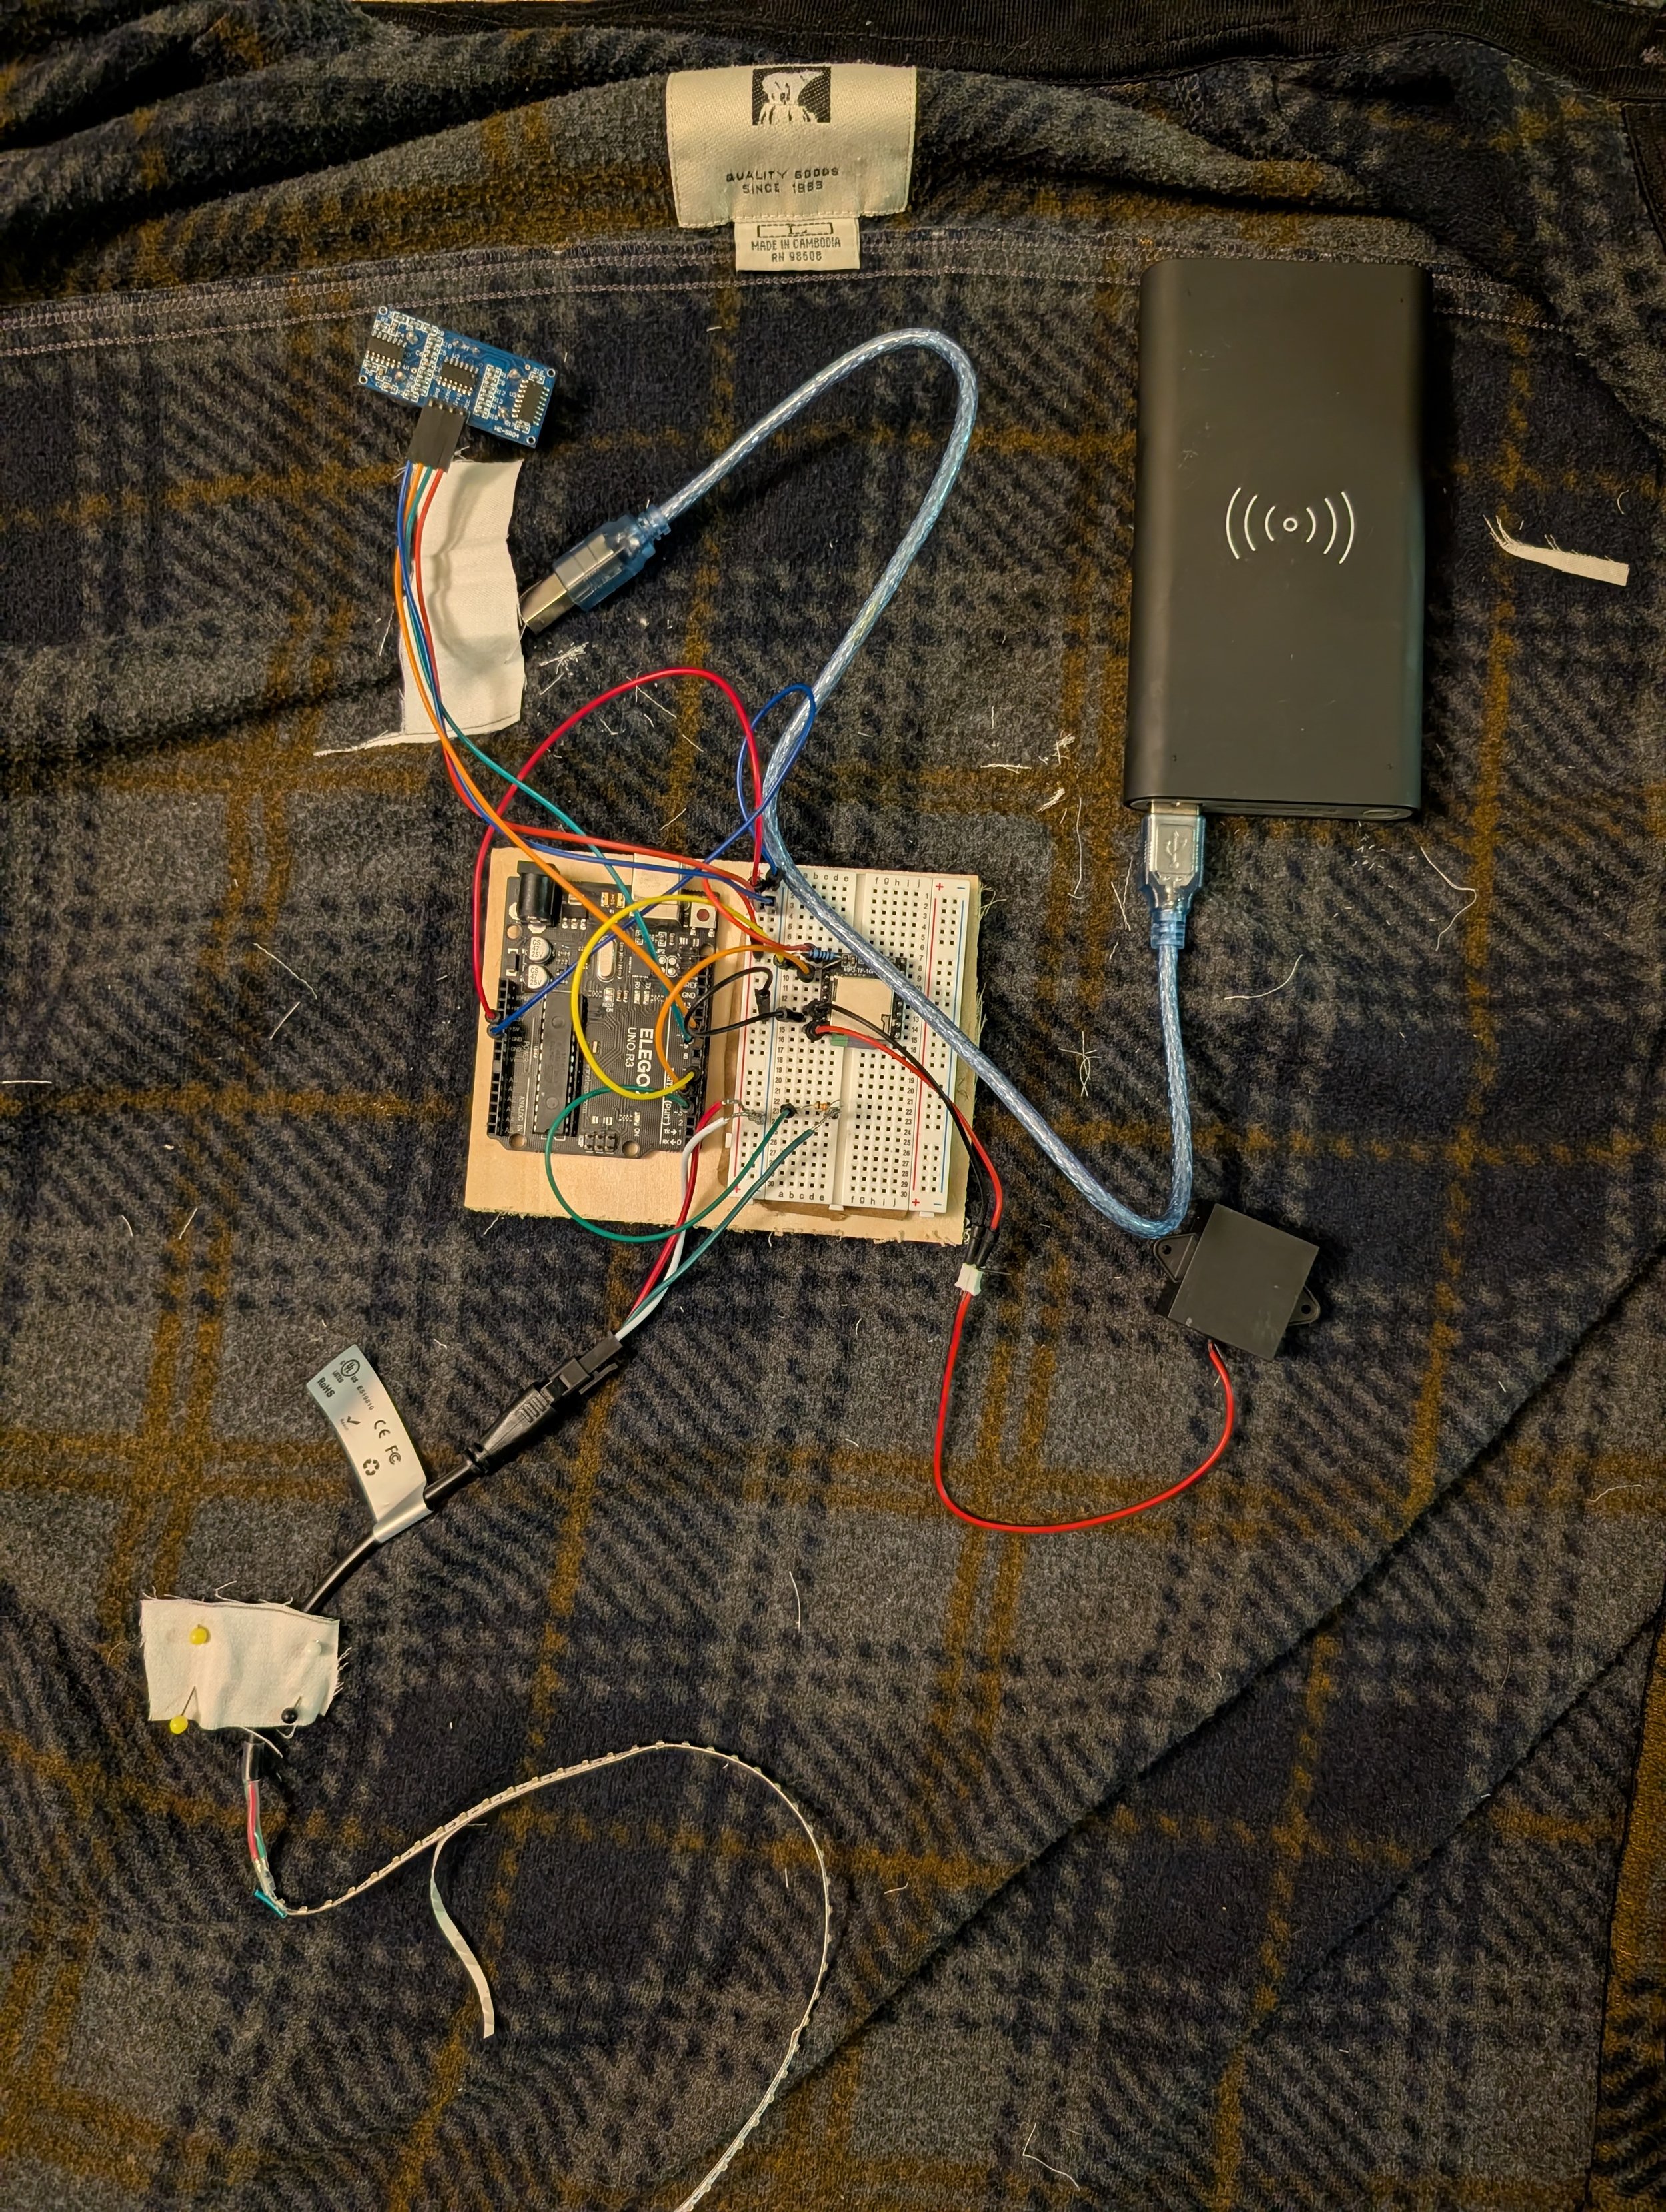
Started by identifying the electrical components needed to trigger the sensor, lights, and sound together, then developed wiring diagrams and wrote the Arduino code before any physcial construction. Once the electronics were tested and functioning, sewing began — mapping out where pockets and sensors would be placed on the jacket.
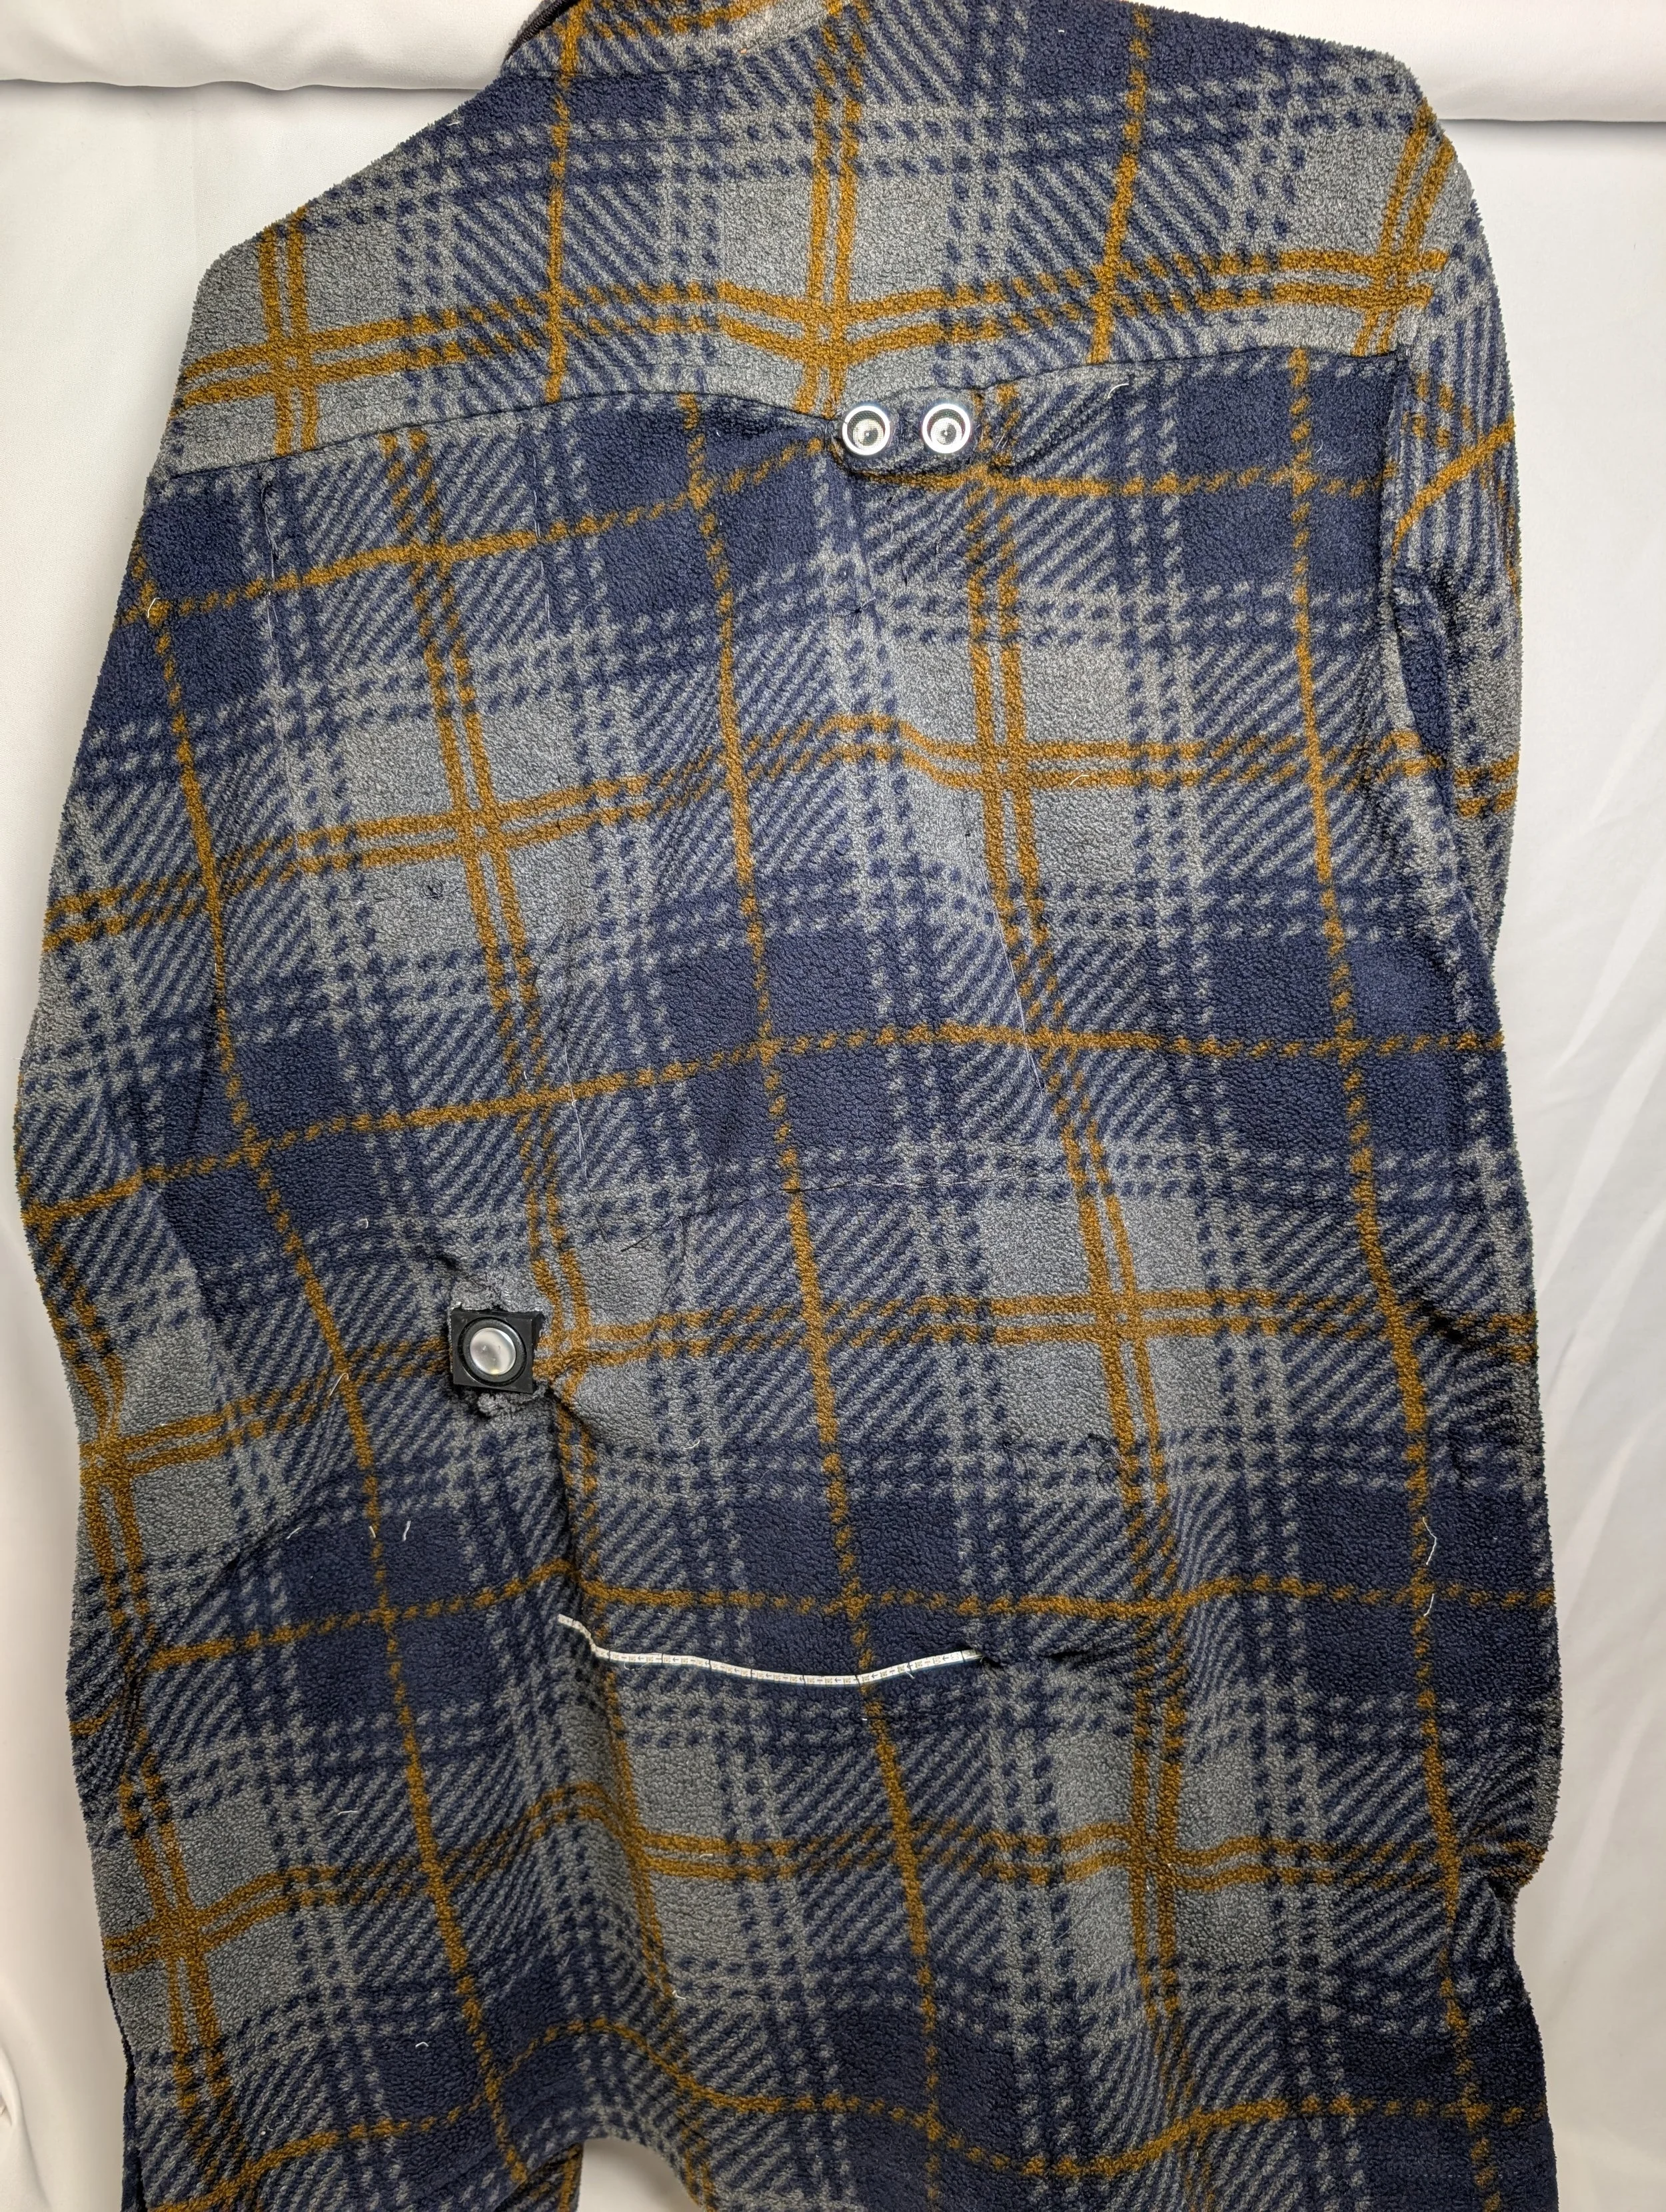
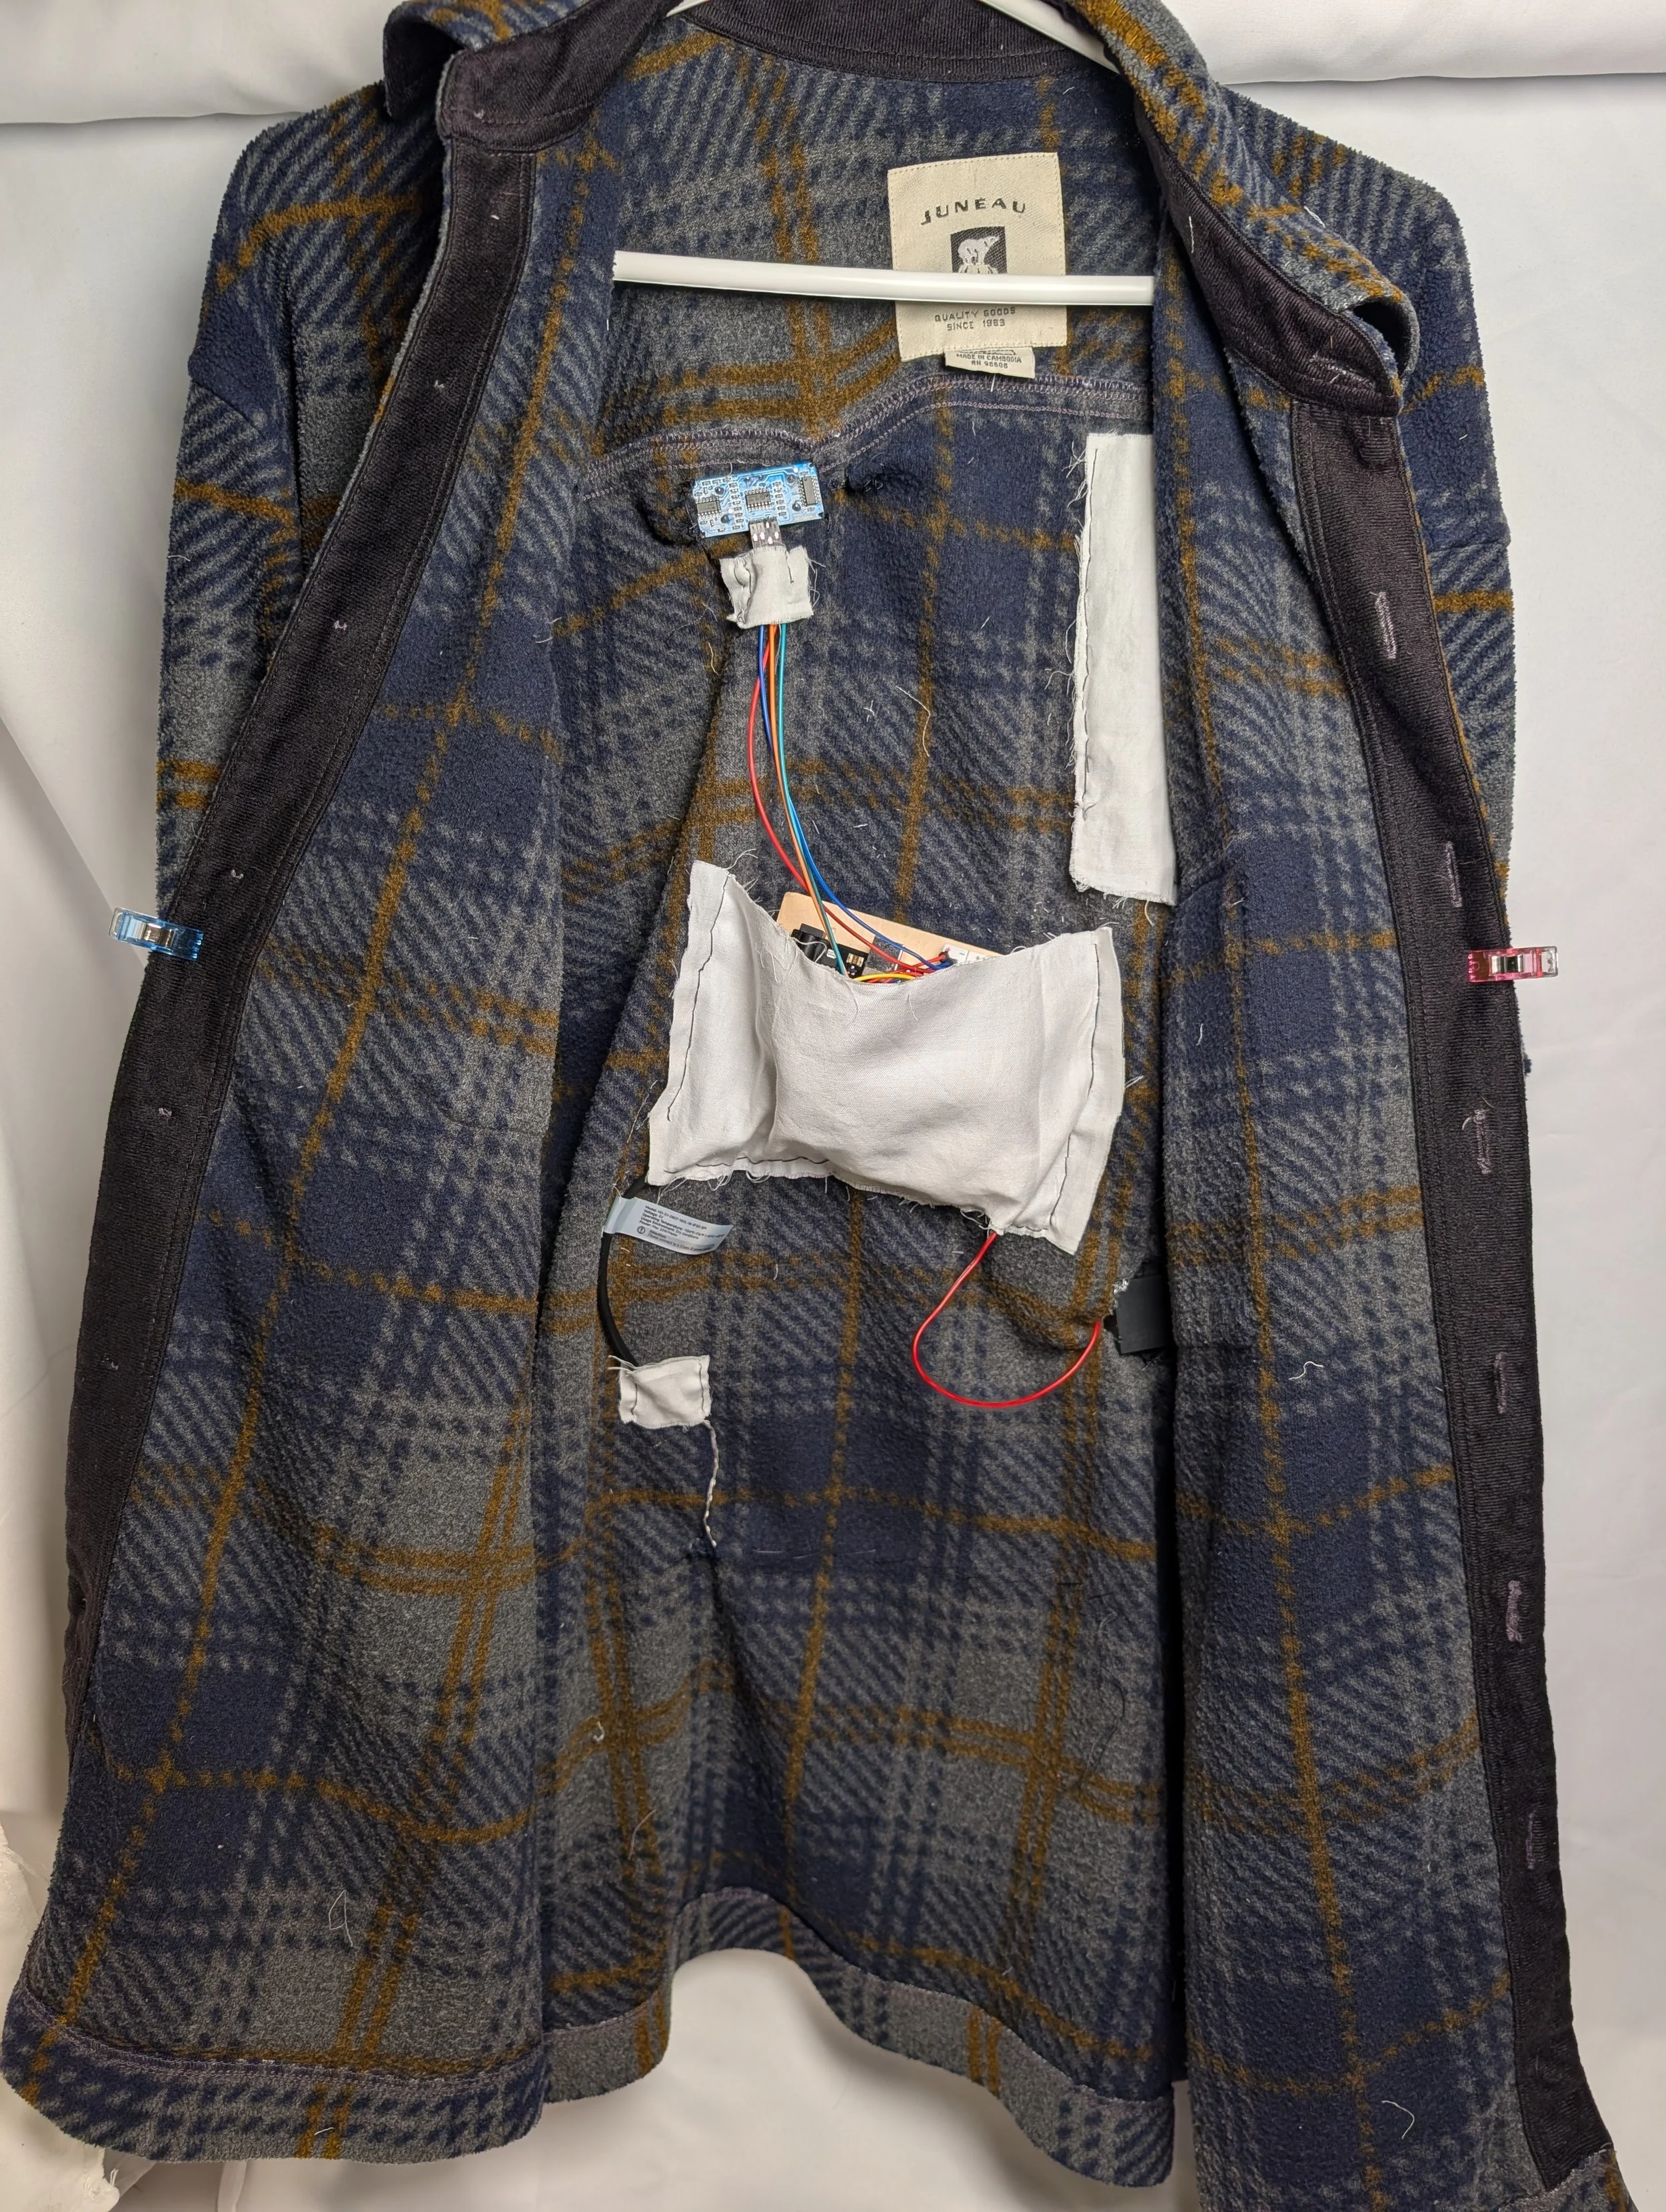
To keep the jacket wearable and practical, pockets were sewn into the lining to house the electronics, allowing the user to remove them before washing. The main challenge was that the ultrasonic sensor and speaker couldn't be pocketed — they required a fixed position to function correctly and had to be sewn directly into the jacket to maintain proper placement and stability.
Electronics laid out
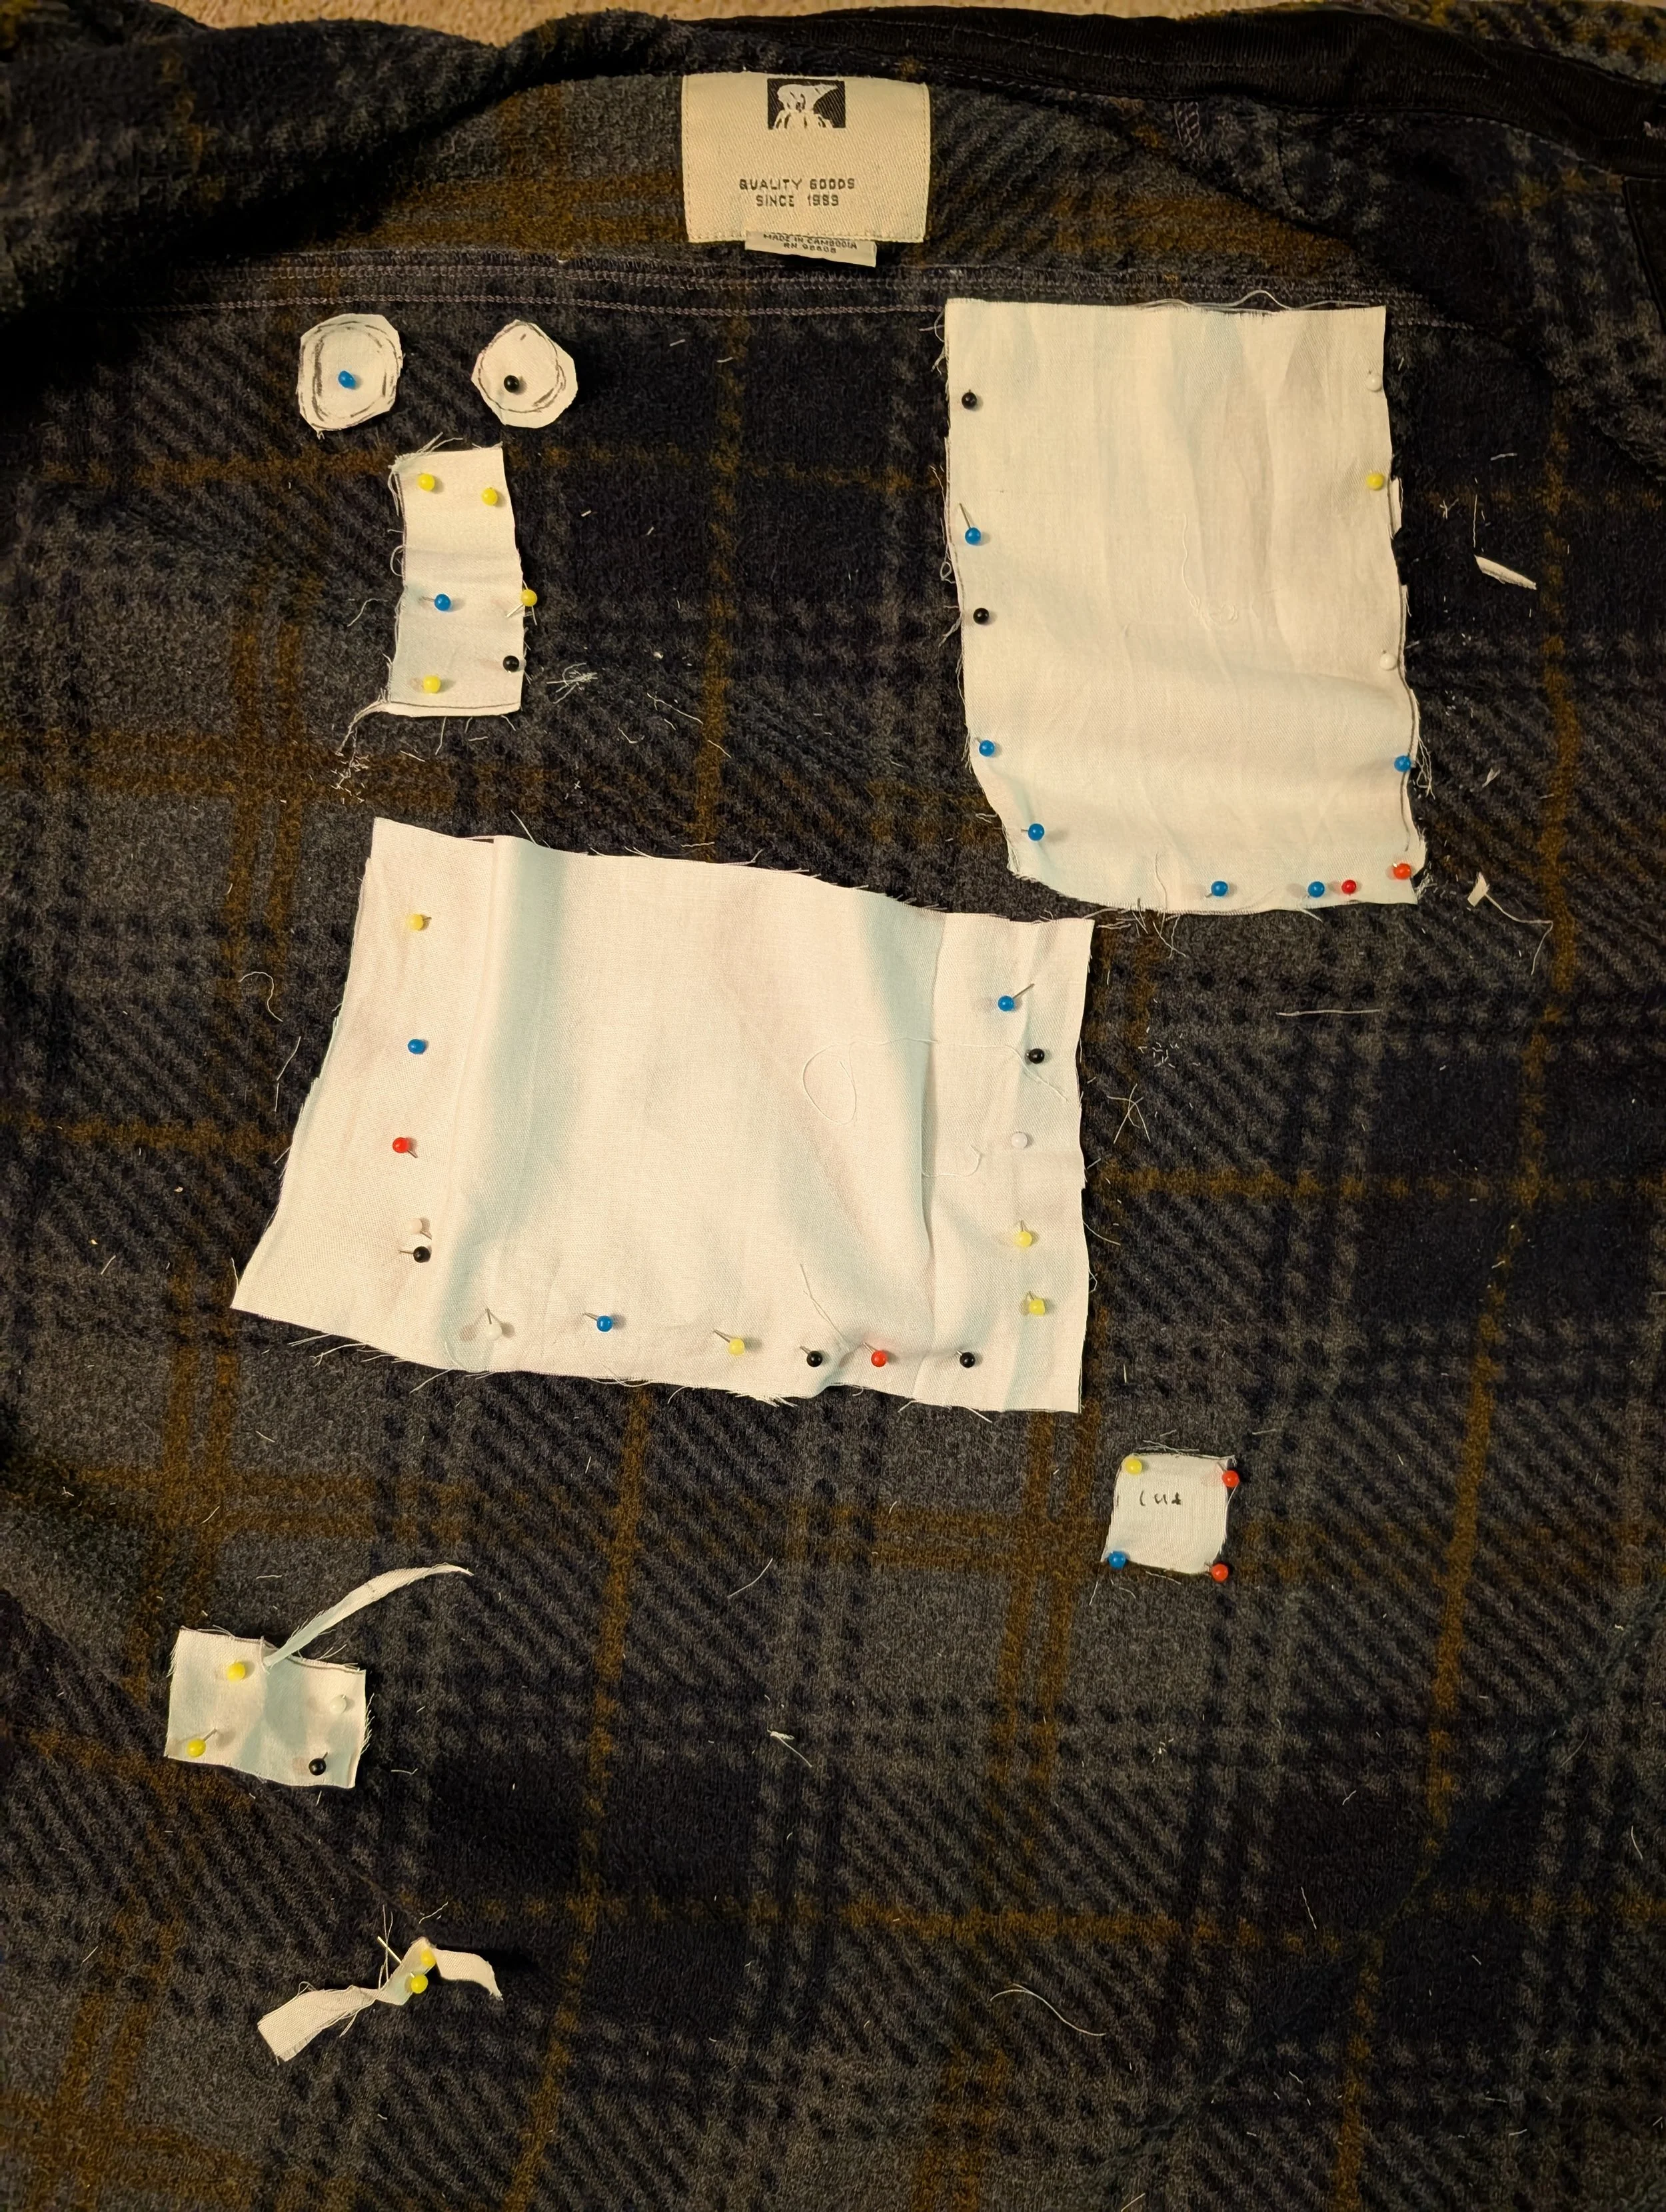
Pockets mapped out
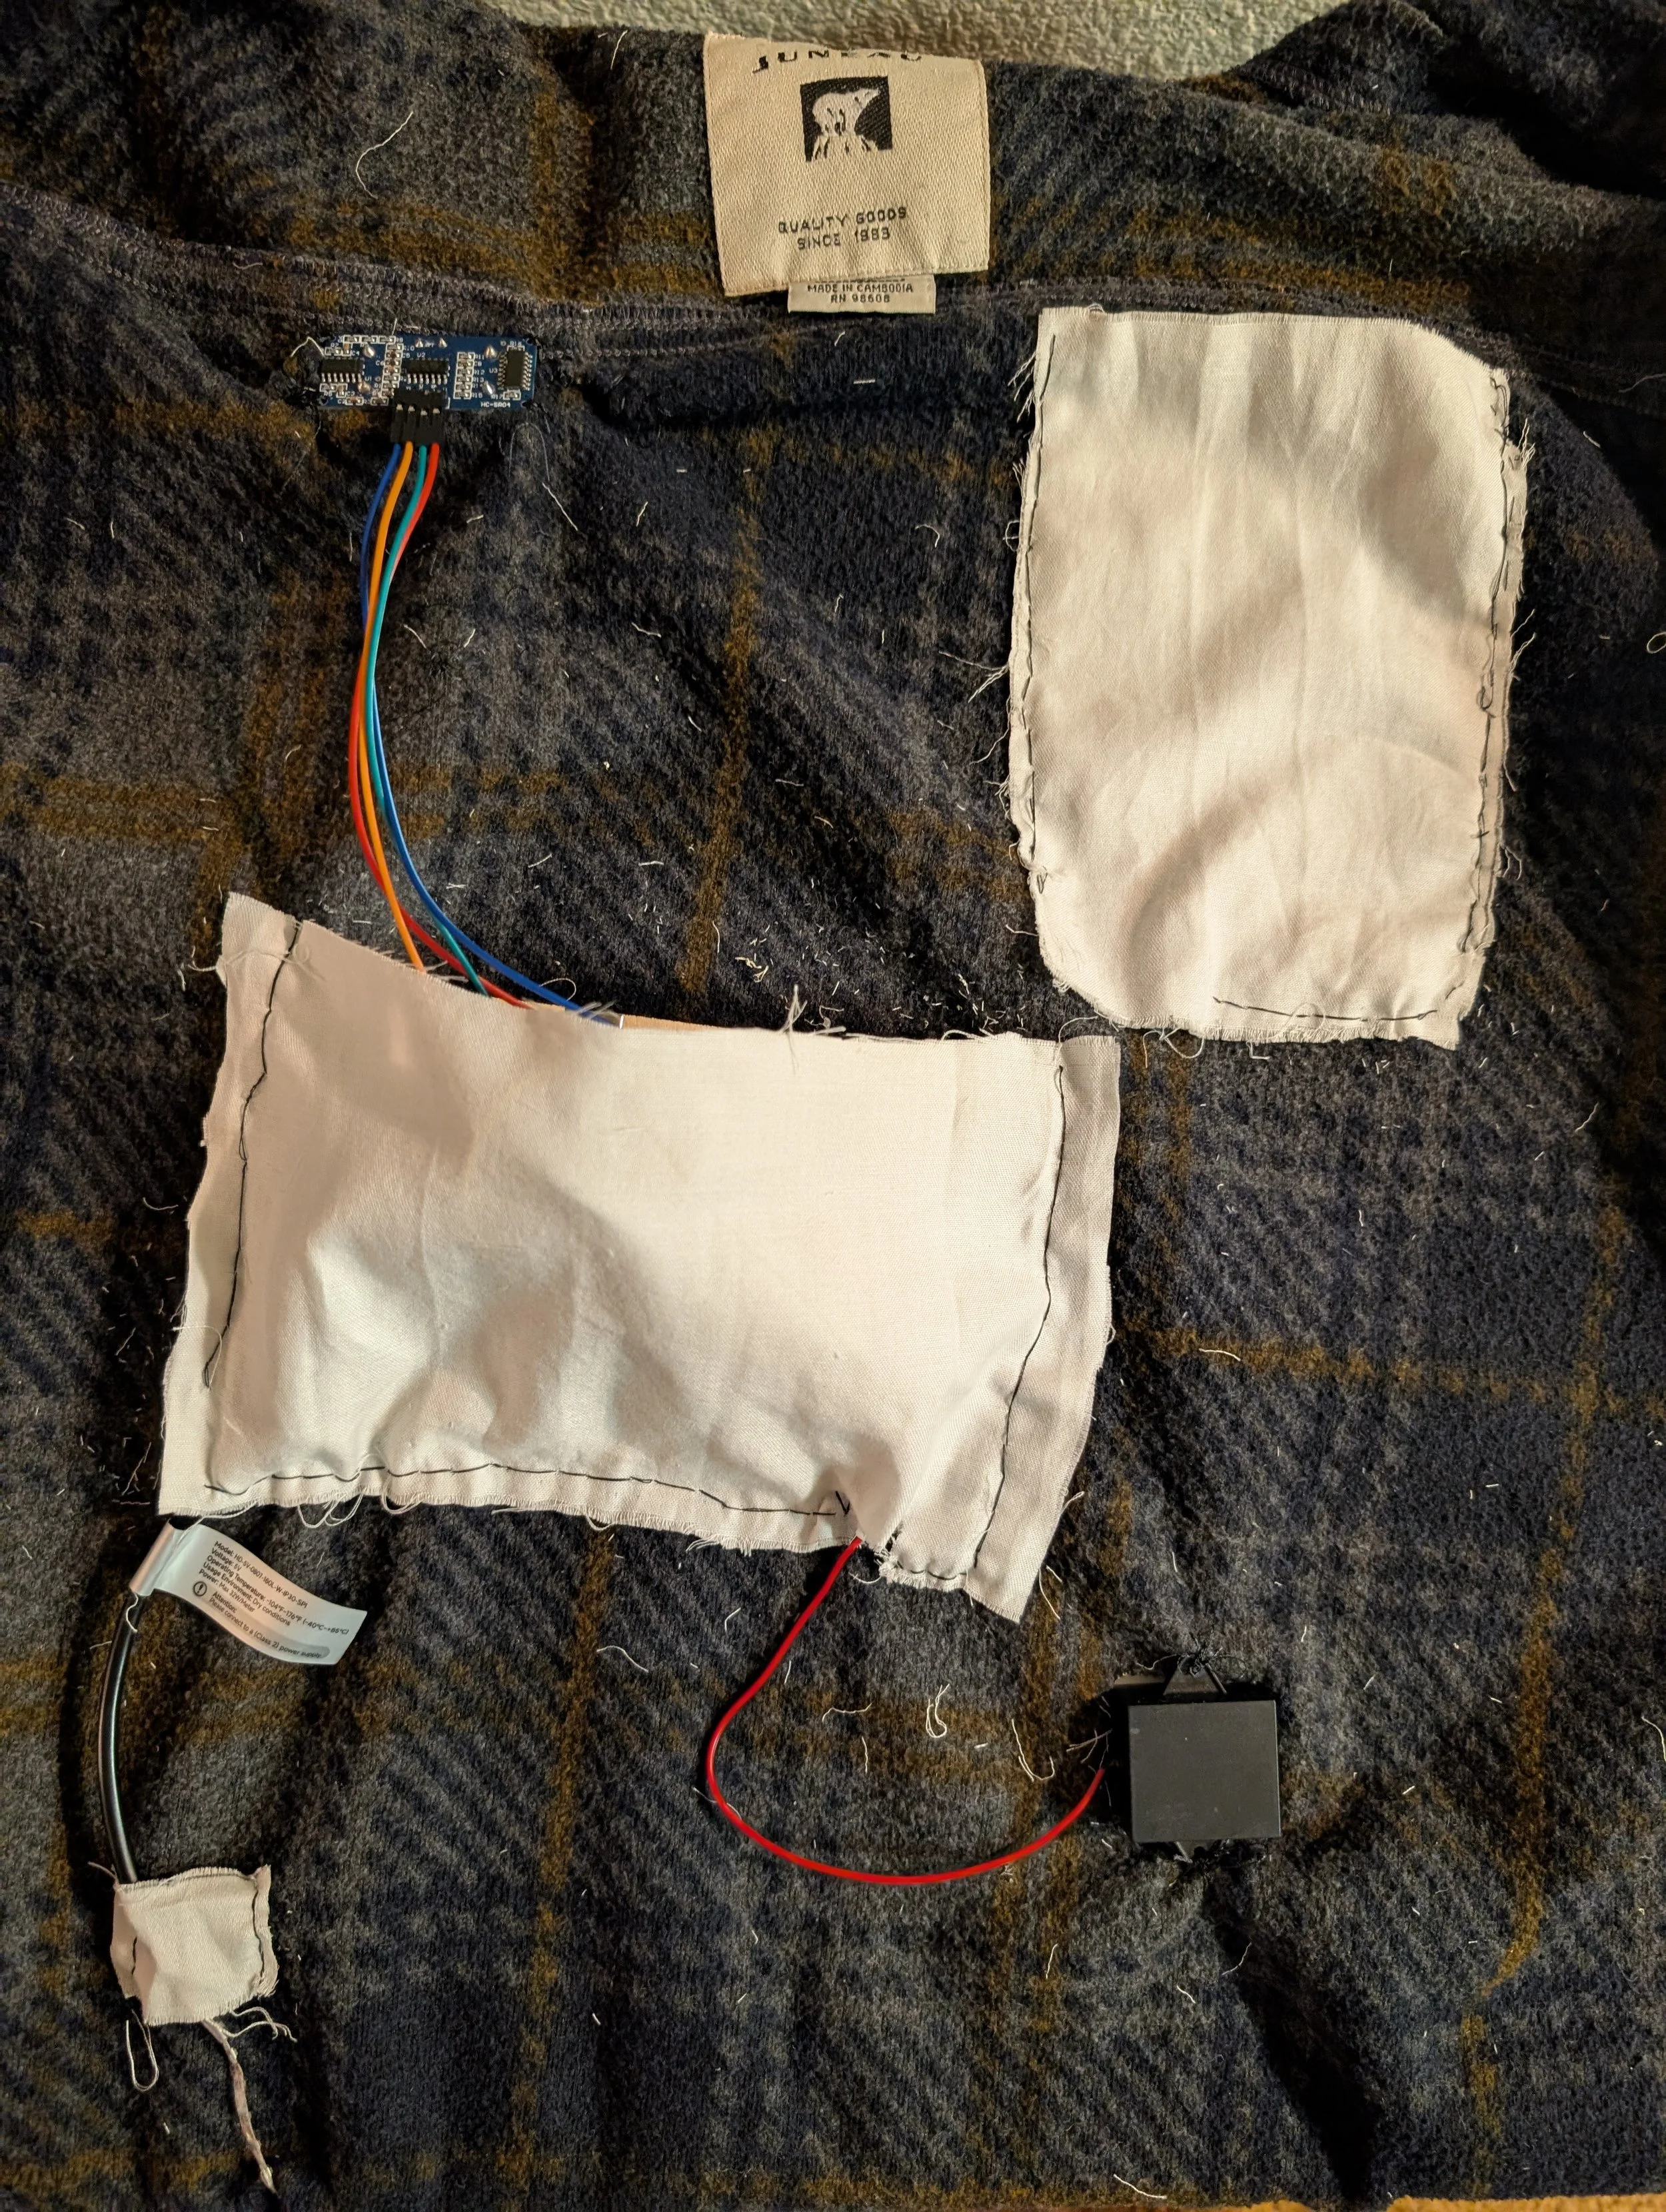
Pockets sewn
Built With
Arduino Uno, ultrasonic distance sensor, DFMini Player, speaker, and NeoPixels
Reflection
Through this project I gained hands-on experience integrating multiple sensors and outputs into a synchronized system, then embedding that system into a functional wearable. It pushed me to think beyond the electronics and consider the user's practical needs — including the durability of the jacket and the wearability of the final product.
Next steps
Future iterations would focus on making the electronics integration more seamless and refined. The Arduino Uno and breadboard currently sit in a fairly large pocket — swapping to an Arduino Nano and a soldered circuit board would significantly reduce the overall size and bulk. Wiring management would also be improved by routing wires through internal pockets to keep them neat and secure.
The jacket fabric would be replaced with a heavier, less stretchy material better suited to holding components in place without shifting. Internal pockets would also be redesigned with zipped closures, making it easy for the user to remove electronics for washing while ensuring components stay securely in place during wear.